Building an e-paper Digital Frame
As a furry, we tend to accumulate a lot of digital art without a way to display them. A few can be printed, but wall real-estate is still limited. To work around this issue, I wanted to have a digital photo frame. Also, as an ebook reader, I quite like the look of e-paper displays, so I started looking for a color, e-paper digital frame. After all, the technology is now years old, and a digital frame seems like a great application color e-paper.
If you see the title of this post, you can guess that my search was fruitless. Some products exist, but they are either black and white, preorder only, or so small they wouldn’t matter. Well, time to take it into my own hand and build one!
Looking at raw displays, there are some options for a color display using e-paper, the most promising seeming to be the Waveshare 13.3inch E6 based on the E-Ink Spectra 6 technology. It is 1600x1200 pixels resolution and 33cm diagonal, so it should display any artwork with sufficient resolution. It also has access to 6 colors per pixel, so with image some processing I should be able to have good renders.
The display comes with a Raspberry Pi HAT adapter, so I used a Pi Zero W that I didn’t use anymore from a previous project to connect it.
Connecting the display
The display is connected to the Raspberry Pi through an adapter card and the 40 Pin GPIO. We can mount everything indie a 3d-printed case, with a USB plus to power the raspberry and a frame for the display itself.
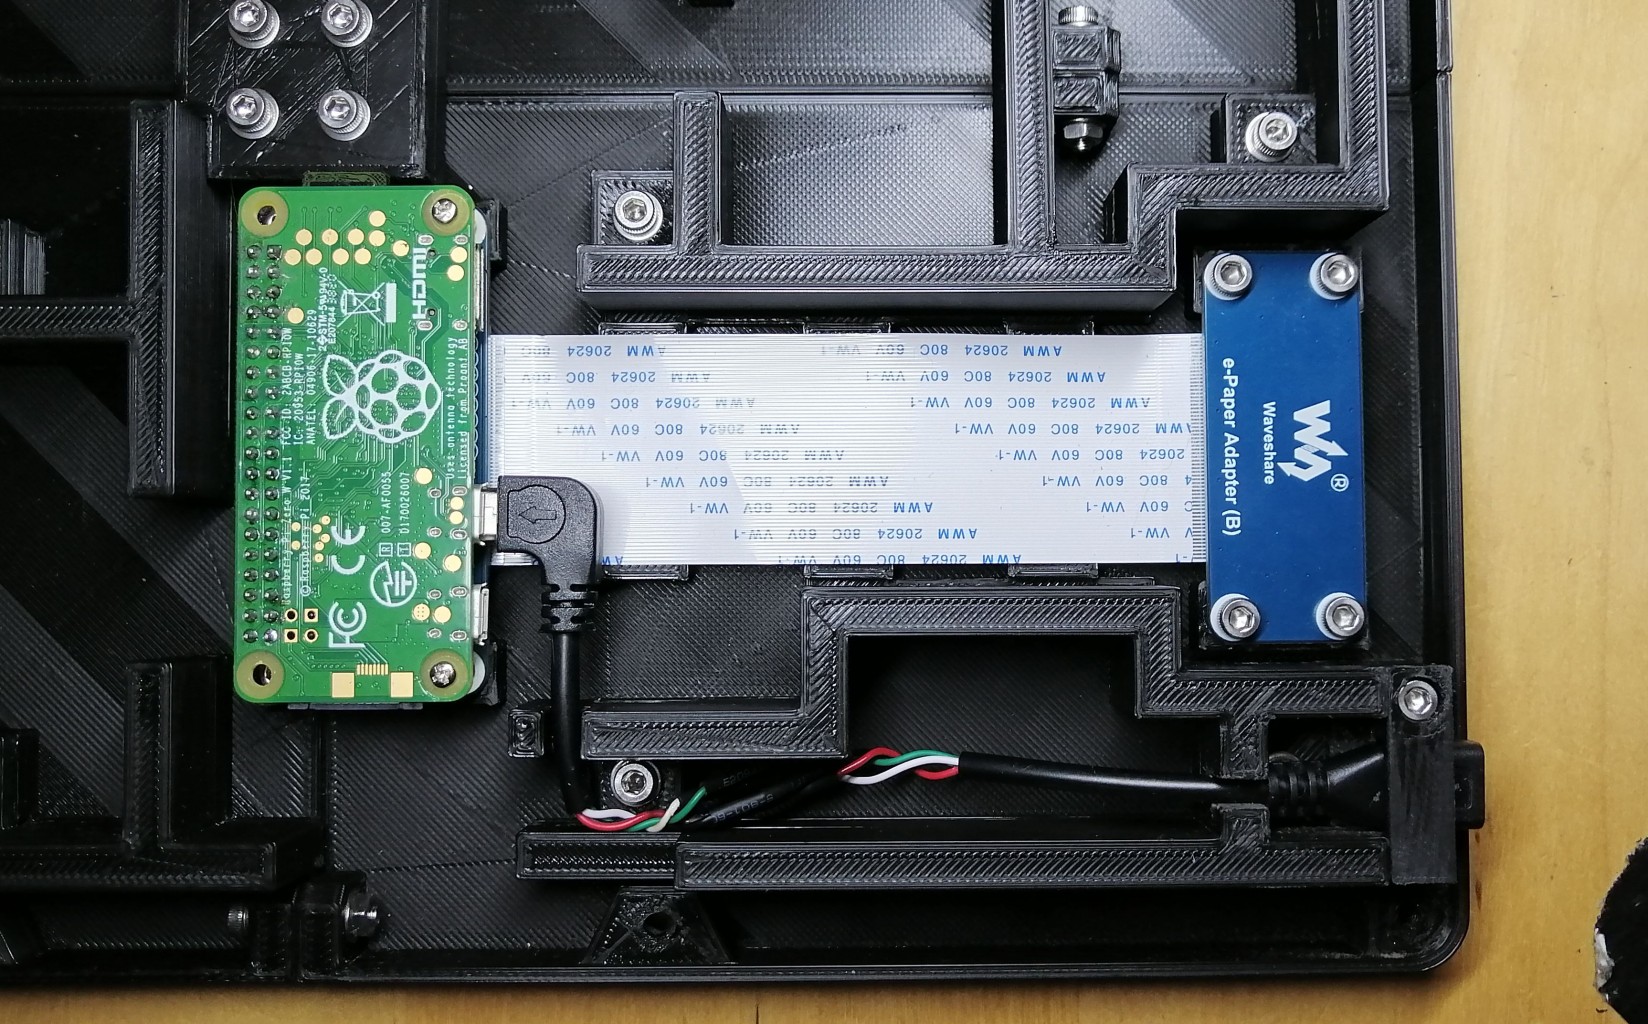
The electronics inside the case
The full case
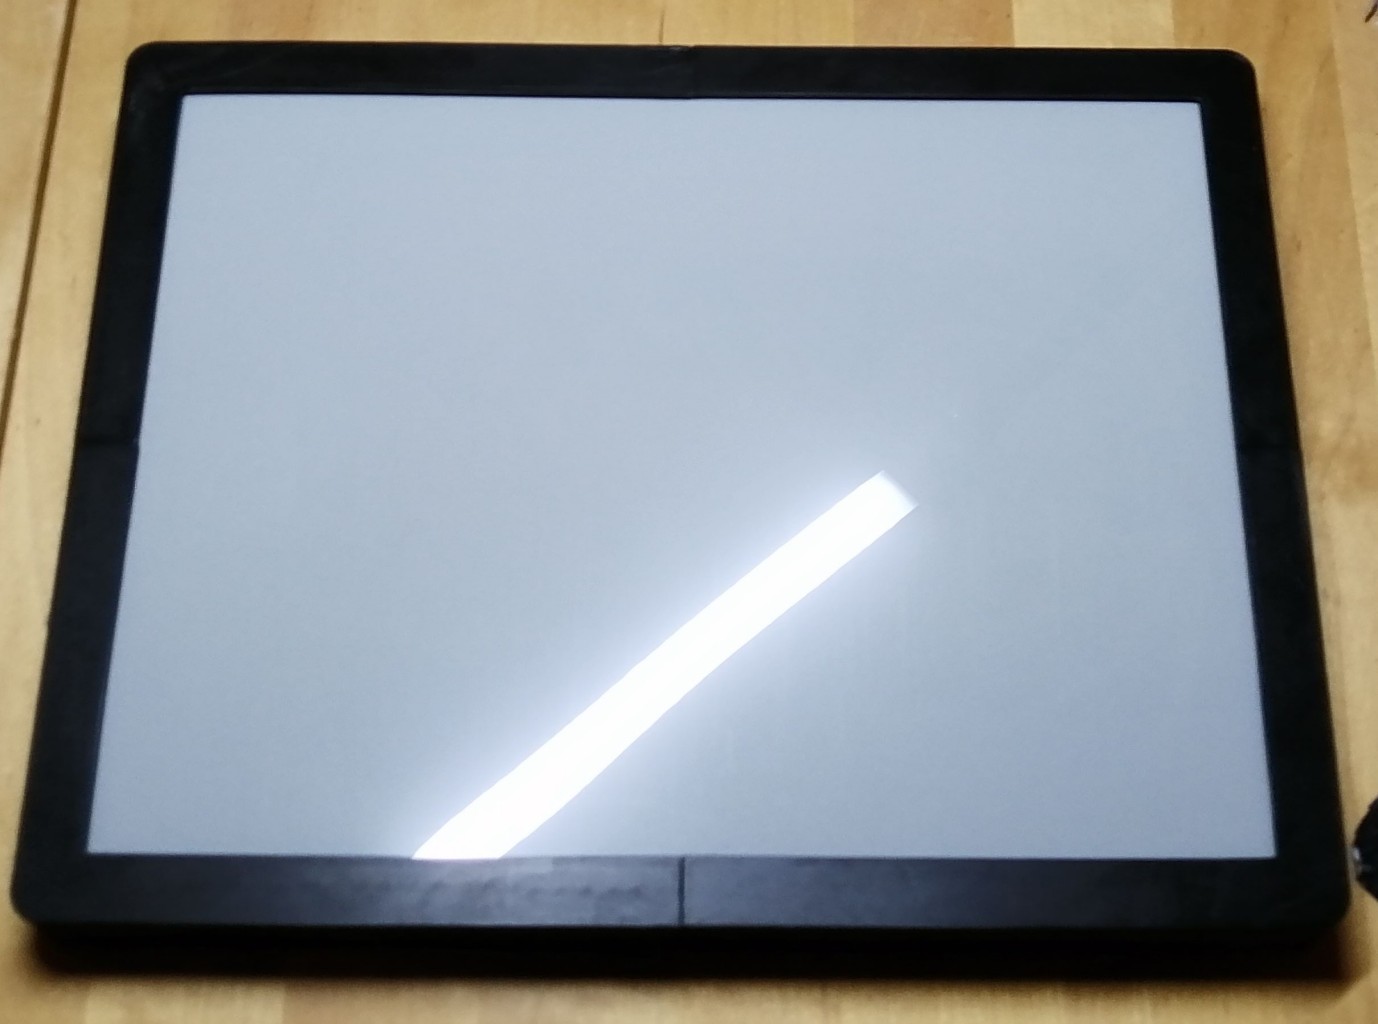
Displaying an image
Waveshare provides some code samples to use the display, so I could quickly display the test image, and the result is already great!
The example image on the display
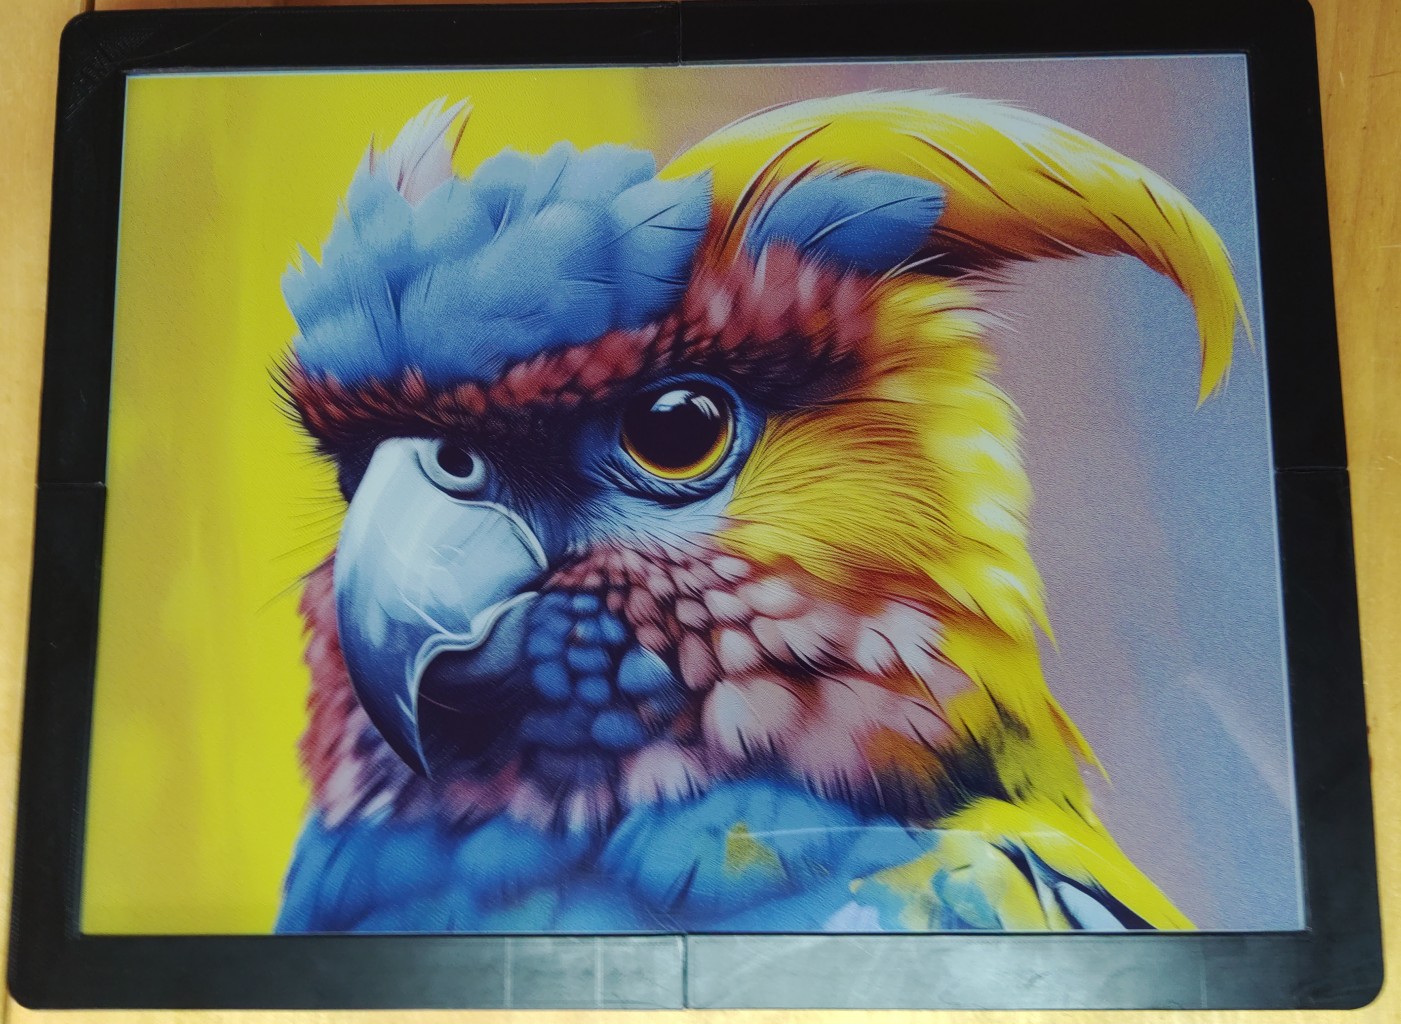
Let’s try to display another image instead, with their code, by replacing the test image in the directory.
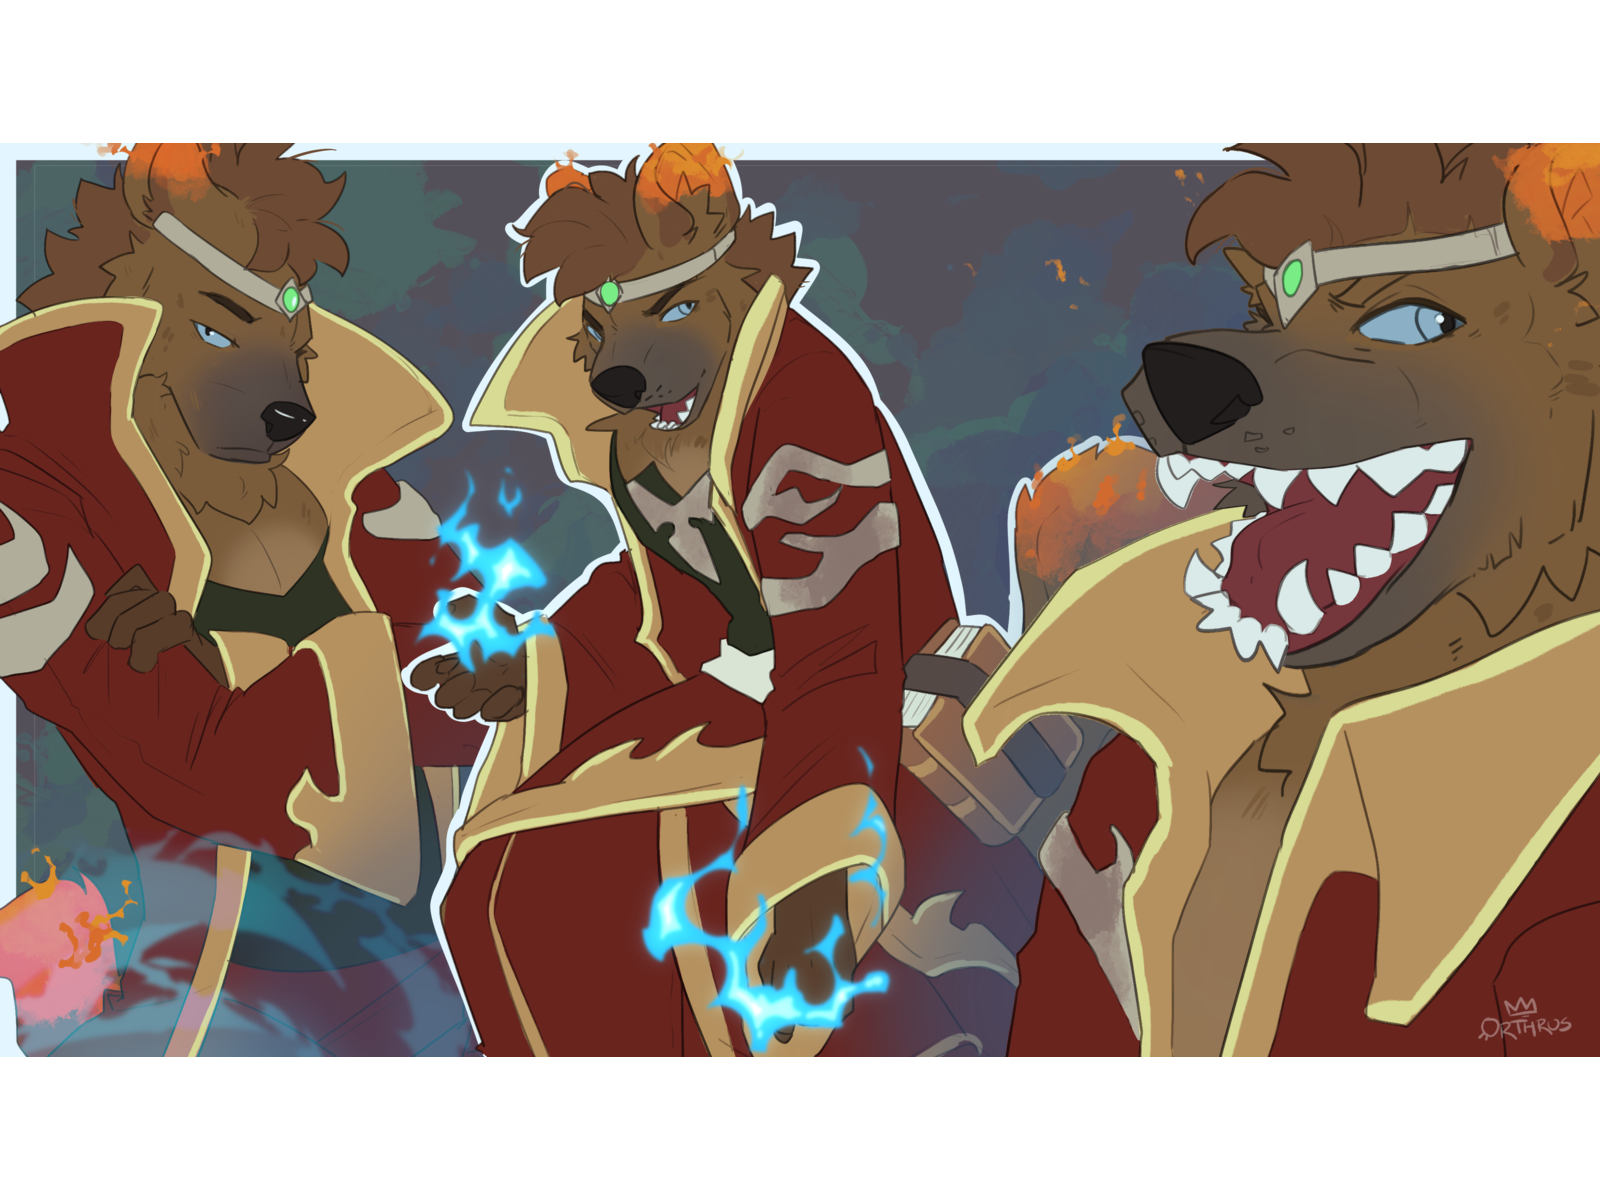
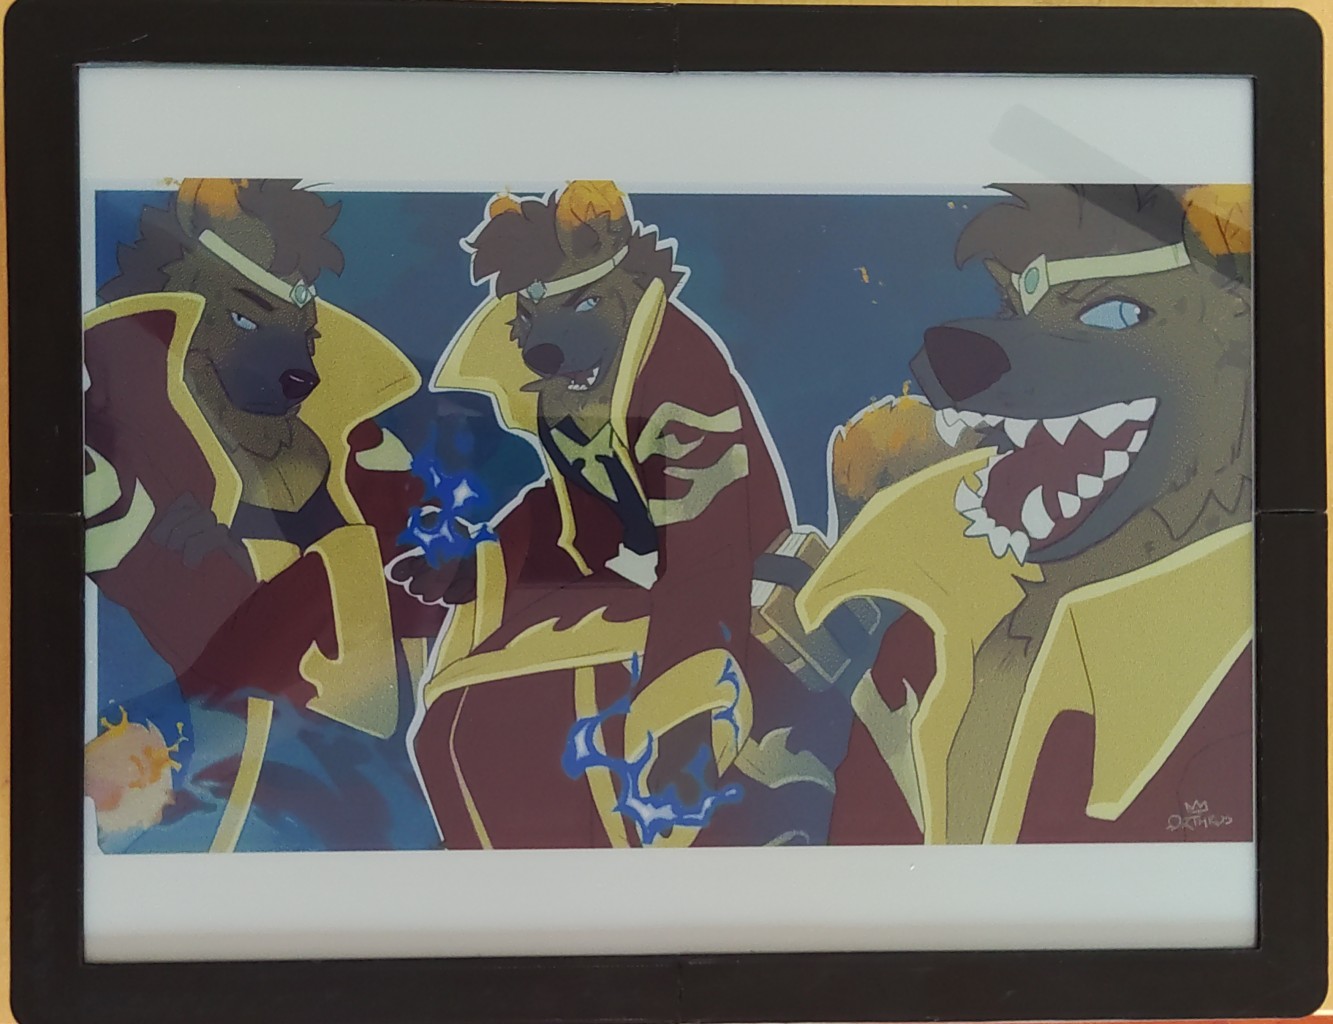
The image that we are trying to display. Art by The Orthrus
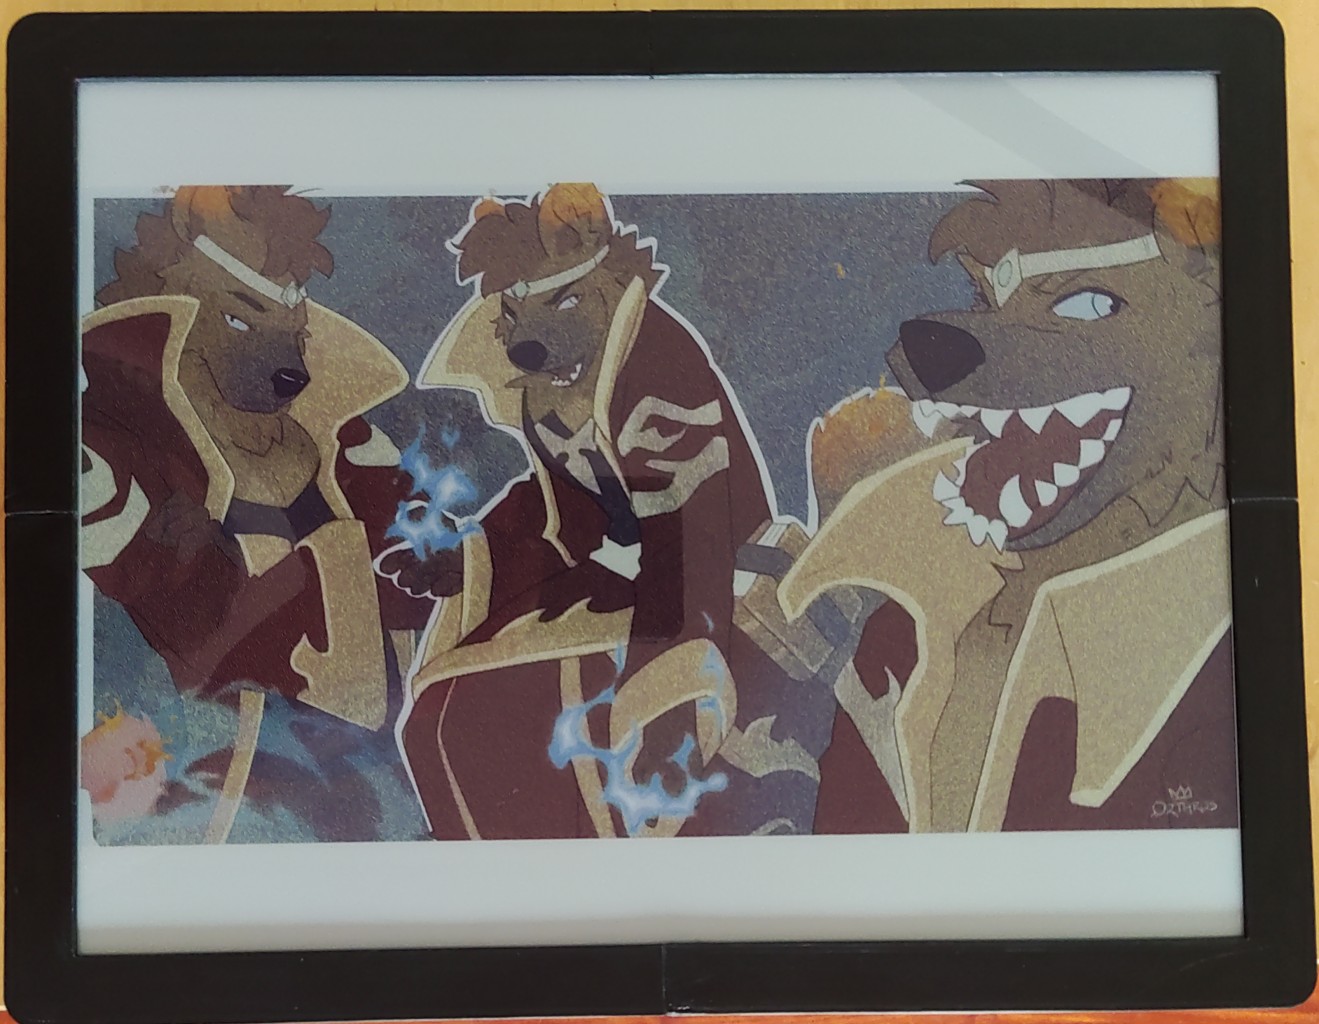
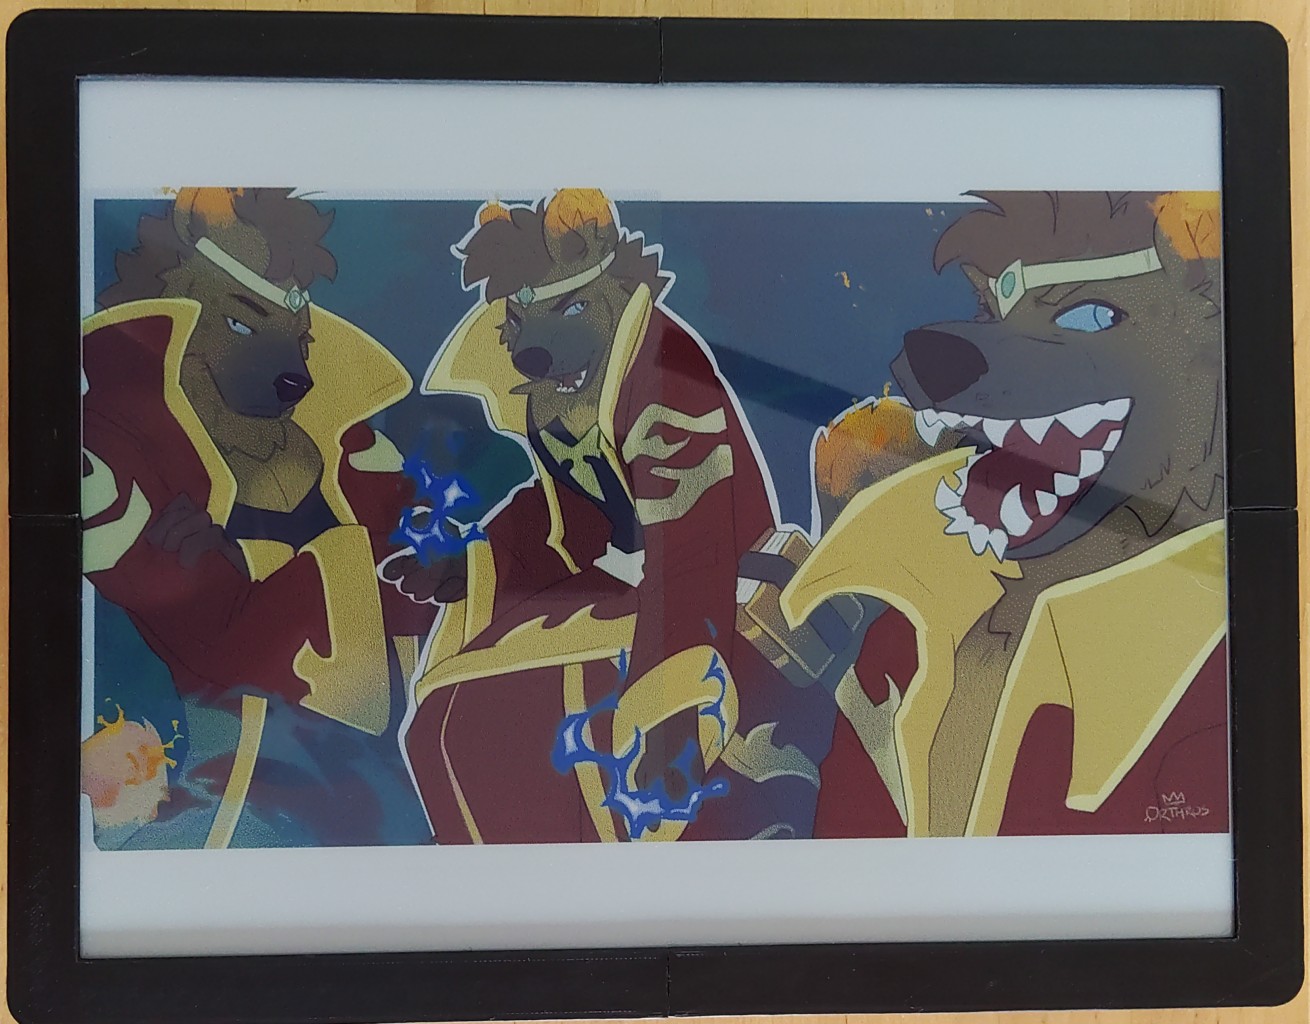
Once displayed on the screen
This is a little underwhelming, as the image seems quite washed out and noisy.
Improving the color conversion
Let’s check how the conversion is done, and if we can improve it.
...
    # This is the code that loads and display the image
    print("2.read bmp file")
    Himage = Image.open(os.path.join(picdir, '13in3E.bmp'))
    epd.display(epd.getbuffer(Himage))
...
  def getbuffer(self, image):
      # Create a pallette with the 7 colors supported by the panel
      pal_image = Image.new("P", (1,1))
      pal_image.putpalette( (0,0,0,  255,255,255,  255,255,0,  255,0,0,  0,0,0,  0,0,255,  0,255,0) + (0,0,0)*249)
      # pal_image.putpalette( (0,0,0,  255,255,255,  0,255,0,   0,0,255,  255,0,0,  255,255,0, 255,128,0) + (0,0,0)*249)

      # Check if we need to rotate the image
      imwidth, imheight = image.size
      if(imwidth == self.width and imheight == self.height):
          image_temp = image
      elif(imwidth == self.height and imheight == self.width):
          image_temp = image.rotate(90, expand=True)
      else:
          print("Invalid image dimensions: %d x %d, expected %d x %d" % (imwidth, imheight, self.width, self.height))

      # Convert the soruce image to the 7 colors, dithering if needed
      image_7color = image_temp.convert("RGB").quantize(palette=pal_image)
      buf_7color = bytearray(image_7color.tobytes('raw'))

      # PIL does not support 4 bit color, so pack the 4 bits of color
      # into a single byte to transfer to the panel
      buf = [0x00] * int(self.width * self.height / 2)
      idx = 0
      for i in range(0, len(buf_7color), 2):
          buf[idx] = (buf_7color[i] << 4) + buf_7color[i+1]
          idx += 1

      return buf
The image conversion function getbuffer is doing two things:
- convert the image to a dithered image using pillow’s image.quantize function
- convert the quantized image to a bytes buffer with 4 bits per pixel
This buffer is then sent to the display which activate the right color for each pixel
Let’s look at the conversion itself, to look at the result alone:
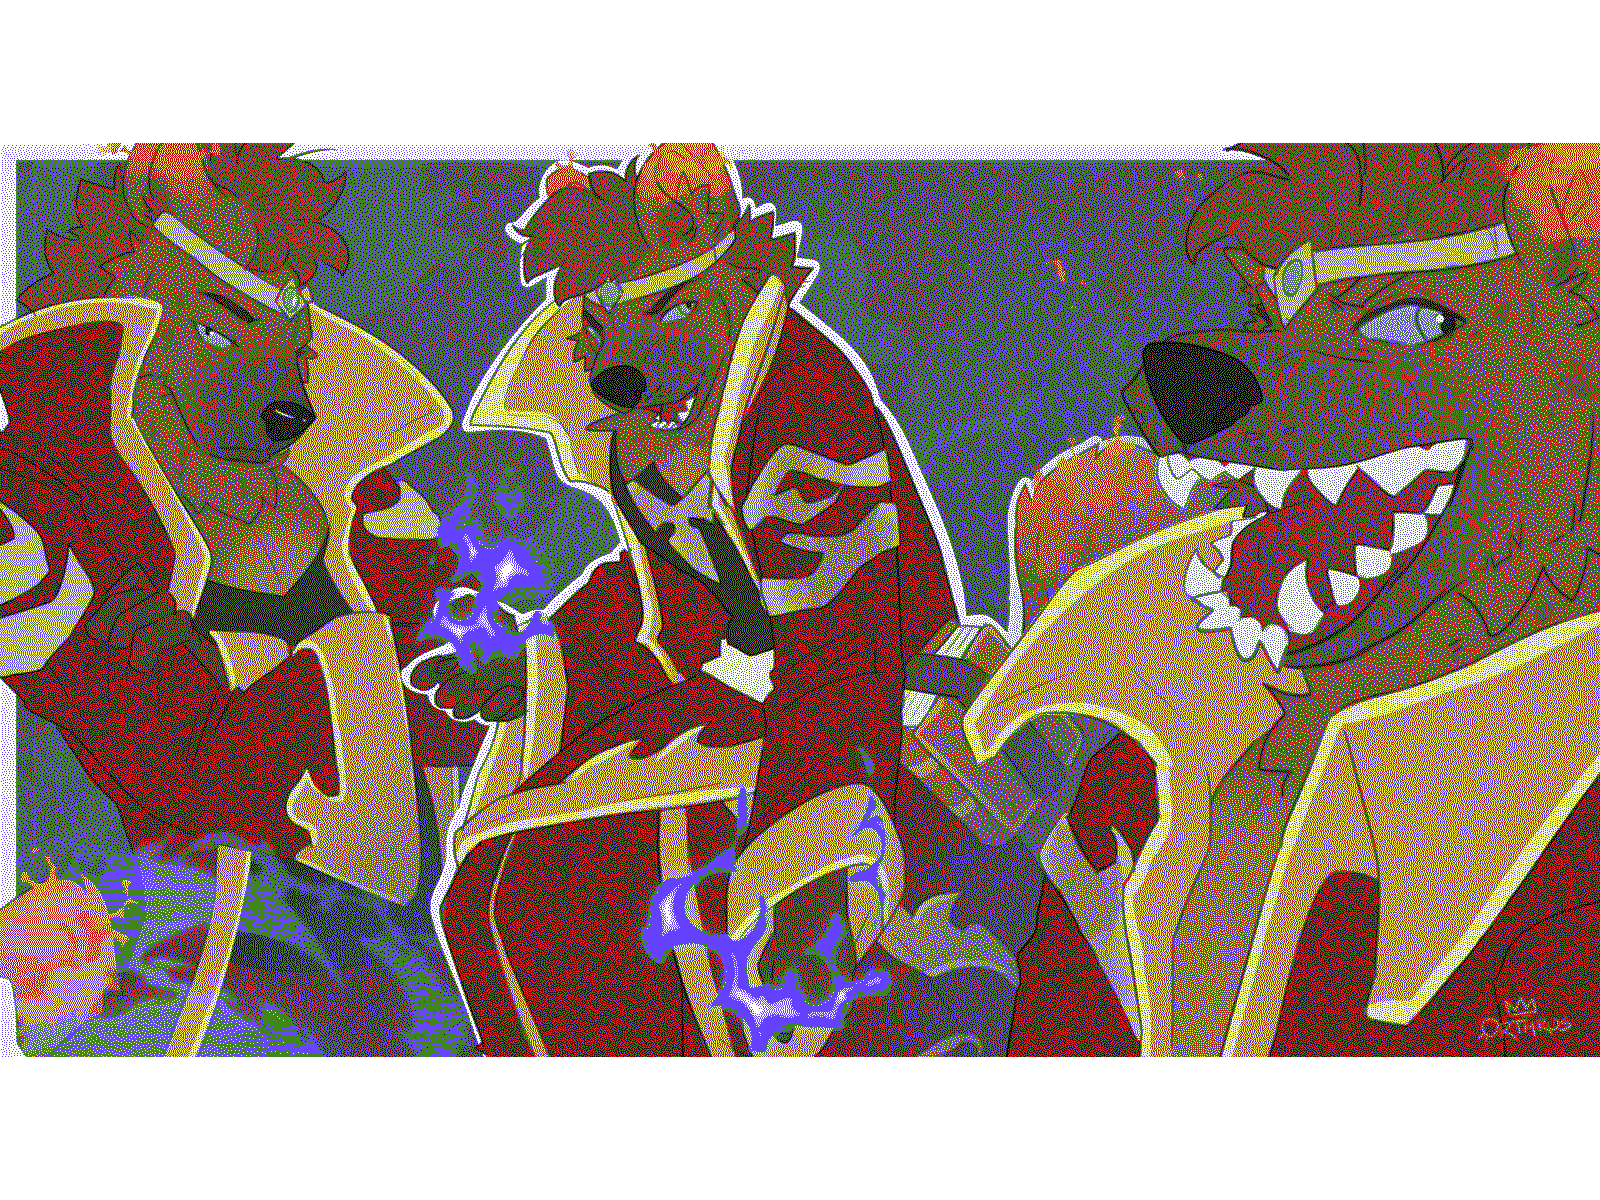
The image converted into a 6 color version
Despite the reduced color palette, the image still looks pretty good, we have all available colors. We do not have this washed out look, so there must be something with the colors of the display itself. To check this I will try to display each available color, by creating a display buffer myself. Since we learned that the display uses 4 bits per color, there are 8 possible values.
#!/usr/bin/python3

import sys
import os
libdir = os.path.join(os.path.dirname(os.path.realpath(__file__)), 'lib')
if os.path.exists(libdir):
    sys.path.append(libdir)

import epd13in3E

EPD_WIDTH       = 1200
EPD_HEIGHT      = 1600

epd = epd13in3E.EPD()
epd = epd13in3E.EPD()

try:
    epd.Init()

    buf = [0x00] * int(EPD_WIDTH * EPD_HEIGHT / 2)
    idx = 0
    for h in range(EPD_HEIGHT):
        for w in range(0, EPD_WIDTH, 2):
            buf[idx] = ((w * 8 // EPD_WIDTH) << 4) + (w * 8 // EPD_WIDTH)
            idx+=1

    epd.display(buf)

    print("goto sleep...")
    epd.sleep()
except Exception as e:
    print(e)
    print("clearing...")
    epd.Clear()
    print("goto sleep...")
    epd.sleep()
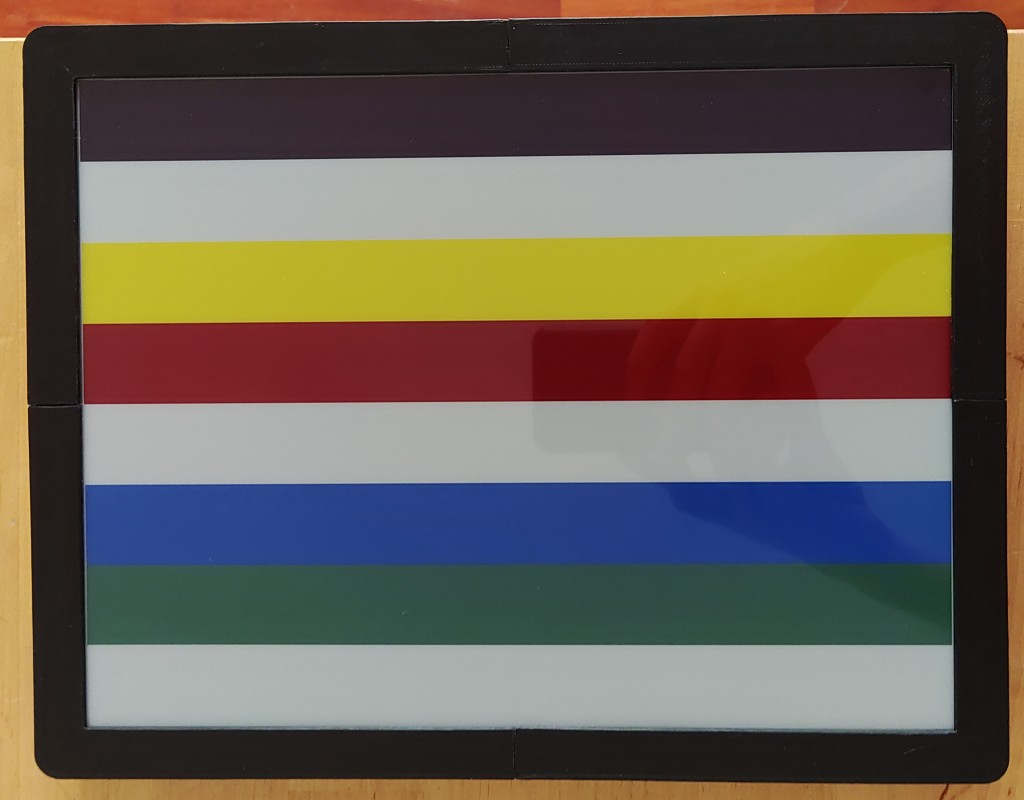
The result of the color test
With this, we can see the limited, 6 color palette of the display, and that any unknown color is replaced by white. What we can notice is that the colors are not as pure as what the conversion would make us think, and this may be the cause of the dull look of the image on the display.
Thankfully for us, there is also a Photoshop palette available in the files to convert the image. This palette is using colors which are much closer to the ones displayed by the screen.

The 6 color palette from the manufacturer
We can try using this palette to do the conversion rather than the basic one:
pal_image.putpalette( (0,0,0, 255,255,255, 255,243,56, 191,0,0, 0,0,0, 100,64,255, 67,138,28) + (0,0,0)*249)
The image converted into a 6 color version
Displayed on the screen, the result is cleaner
Final results
We get a good result with the right palette, as the conversion only uses colors that can be accurately displayed. Still, the image stays a bit dull and dark. I tried boosting the contrast a bit, to make the colors pop a bit more, this time using ImageMagick to make the conversion.
Comparison of the original and 15% increased contrast
In the end, I build the workflow to prepare an image for the display using ImageMagick with the python Wand library. A have a small web app that allows me to upload and prepare an image, and send it to the frame for display. Uploaded images are resized and converted using the 6-color palette, and the uploader can choose to improve the contrast and compare different values directly from the app.
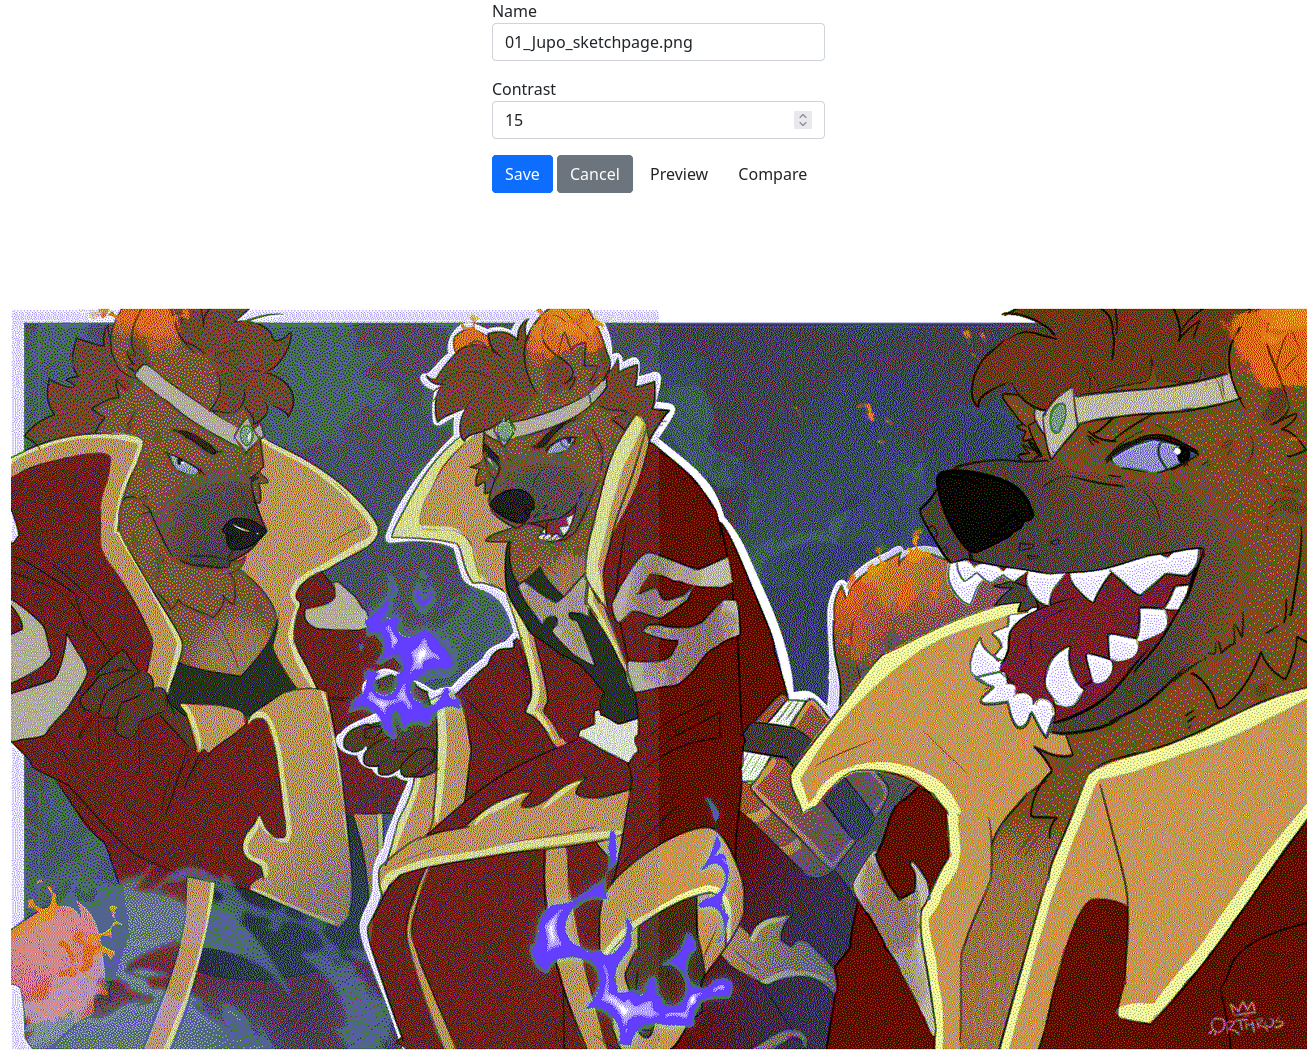
The image upload and edit page, during a contrast comparison
In the end, most of the image processing is done outside of the Raspberry Pi Zero, otherwise the process tends to lock-up. Only the final display is handled by the Pi, with the image transformation done using another server.
I also briefly mentioned the dithering of the image done by the conversion. There are many way to dither an image to support a low color palette, and the one used in this process is the Floyd-Steinberg method, which yields great results. I still plan to explore other methods later, which will probably be the subject of another post.